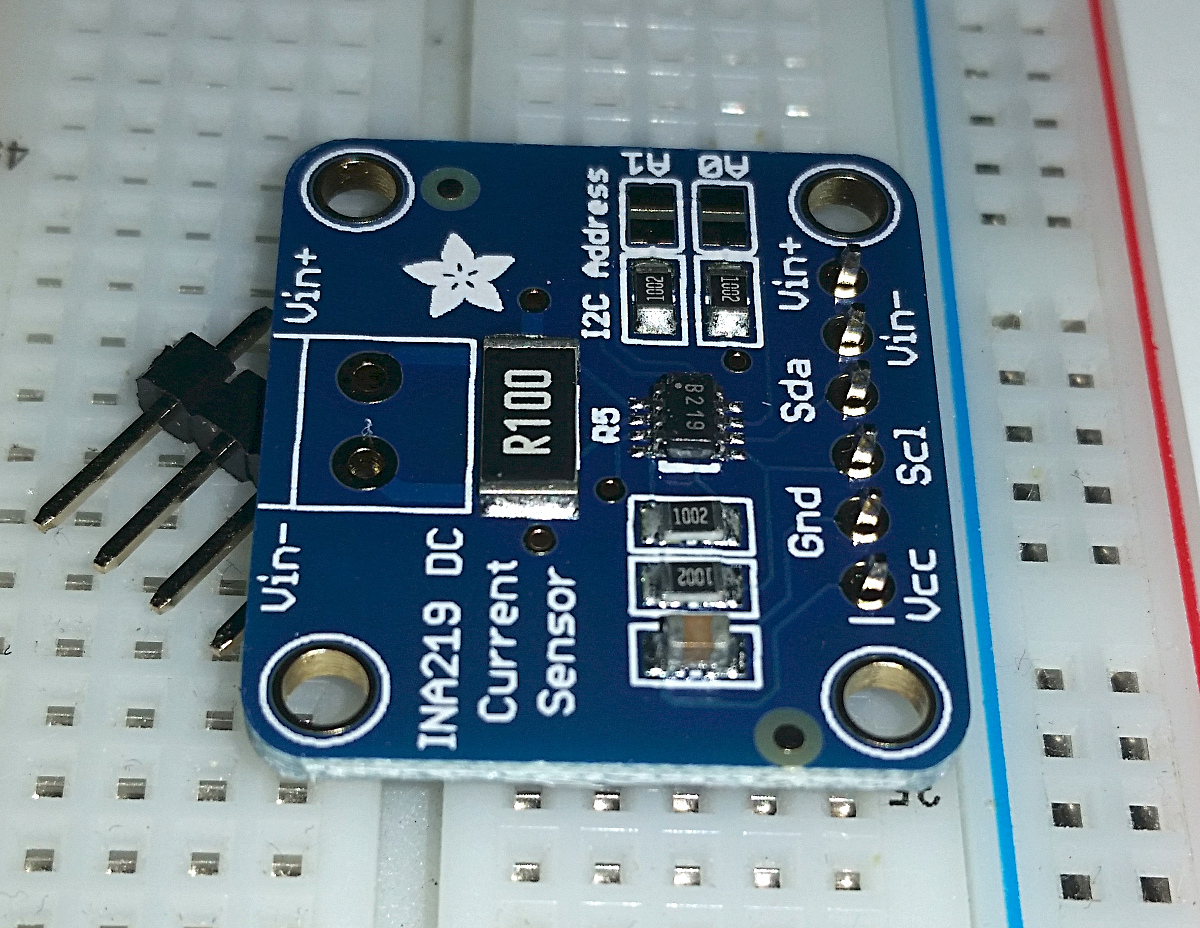

When buying microcontrollers, breakout boards and the like, they often come without headers.
In order to plug these boards into a breadboard, we’ll have to solder some headers on to them. Doing so is quite easy.
Most boards have 2.54mm pin spacing, so if your board did not come with headers, you’ll find suitable header strips in almost every electronics shop. Look for something like this: https://littlebirdelectronics.com.au/products/40-pin-header-terminal-strip
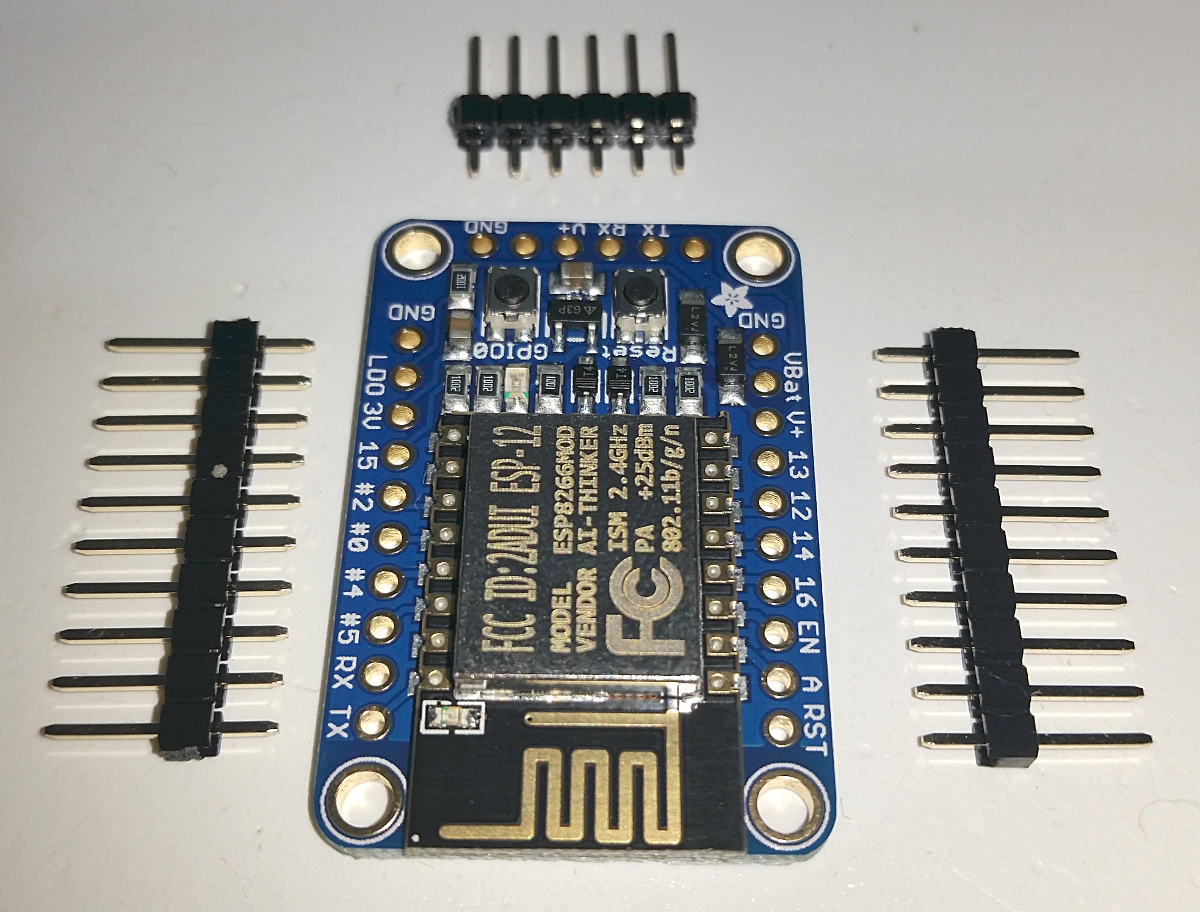
These strips snap off easily to the desired size, just double check that you have the correct number of pins before you snap. As an example, Adafruit’s Huzzah ESP8266 breakout board have two rows of 10 pins each, in addition to 6 pins for FTDI.
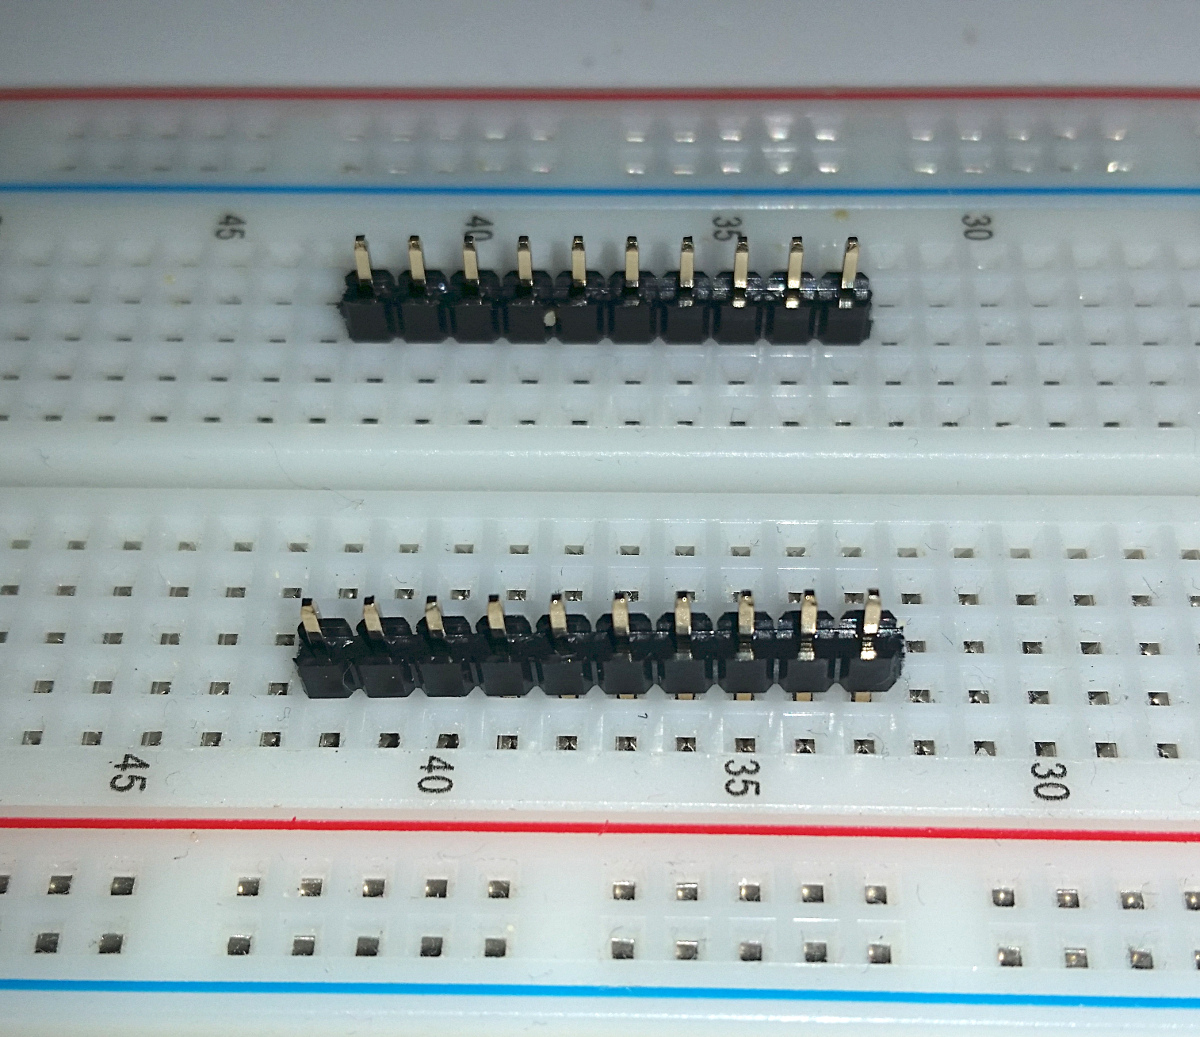
Insert the two 10-pin headers into the breadboard so that the breakout board will fit on top of them. The headers go with the long side of the pins into the breadboard, the short side poking out. Make sure the headers are flush with the breadboard. If you look at the image below, you can see the nearest one is not straight and even. If left uncorrected, this will make the breakout board wobbly, making it difficult to get a good result.
Place the breakout board on top of the headers, which will then poke a couple of mm out.

Orient the breadboard so you have good and easy access to the pins with the soldering iron coming in from the left or right. The solder comes in from the other side.
Make sure the iron is nice and hot, and importantly, clean. Coat the tip with a bit of solder and touch the tip to where the first pin is poking through the hole in the breakout board. This heats both the pin and the copper ring on the board. With a hot iron, things get hot enough within a second or two. Touch the solder to the hot pin and it will melt, flowing down around the pin and locking it securely to the board. Check your work visually and move on to the next pin.
Just a few seconds per pin is enough. Spend too long heating it and the heat will spread to other components on the board, loosening them, melting plastic, overheating sensitive components. If you don’t get the solder flowing well enough, remove the iron from the board and let it cool down before you continue.
What if my board only has pins on one side?
If your breakout board only has pins on one side, you will need to support it on the other side to make sure the board will not wobble and that the header goes on at a right angle. A spare bit of header strip works well.